Installation
The file that you have downloaded for installing Scolo is a compressed file that contains three files. They are named 'setup.exe' ,'Scolo Install.msi' and 'ReadMeFirst.txt'. You should extract the files to a directory on your computer.
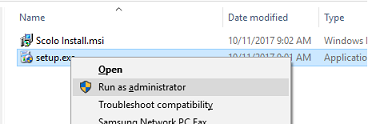
After you extract the files the Scolo installer should be run as an administrator on the workstation on which it is being installed. You do this by right clicking on the extracted file named 'setup.exe'. You should get an option similar to that below for 'Run as administrator'.
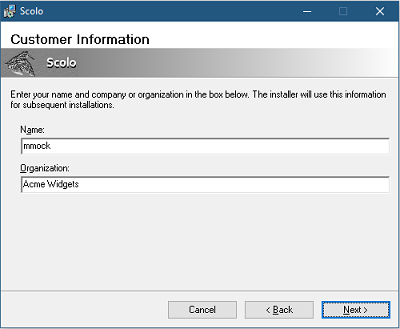
In order to install the Scolo software package you will need to agree to the license agreement. You are then prompted to enter information about your name and company. Please be as accurate and consistent with you company name with all installations at your resort. This information will be used to register the software and tie the installation with your subscription.
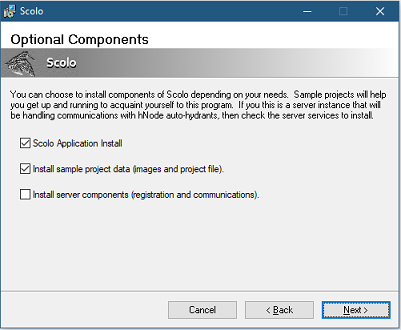
The installer with then ask you for specific components to install. By default the Scolo application and a sample project is selected.
The Scolo application is the user interface that will be used on all of your workstations. This option will also install some additional programs used for hNode automatic hydrant controls.
The sample project is a simple layout for a resort that will quickly allow you to import into Scolo. This is intended for Scolo running in the free demo mode but can be modified as a base layout for your property. See how to import projects here.
The server components are standalone services for communicating with Scolo's hNode automatic hydrant controllers. The services can be installed on a workstation but should be put on a server that runs uninterrupted. Even if you do install the services locally one will be needed to be configured before starting. You should review the hNode Controller section in this help documentation for more detailed information about these services.
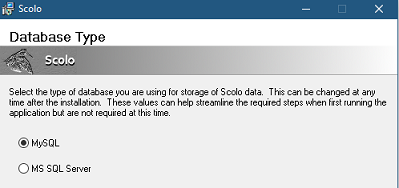
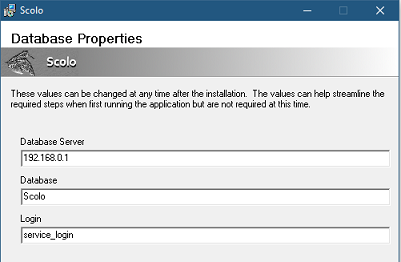
While not required for installation the next two sections of the installer pertain to the database type and connection settings. Filling in this information will help pre-configure the database settings for Scolo and all other components being installed. Once installed all of these values can be changed at any time through the Scolo application.
The next couple of sections are the typical options for creating a desktop shortcut and the installation path for Scolo. Modify these if you wish and then install Scolo. If the install is successful you will get a message with any specific post install information.
If your database system is setup you can start the Scolo application from your start menu under Scolo->Scolo - Snowmaking Op or the desktop shortcut if you selected that option.
Now that Scolo is installed successfully on a workstation you should proceed to the section 'First Startup Of Scolo'. This is especially important if this is the first installation of Scolo at your property in order to get the database properly created and setting of the administrator account password.