Installing The Sample Project
If you selected ‘Install Sample Project’ during the installation, you can import that project to populate Scolo to demonstrate some of the application’s features while in Demo Mode.
This section will guide you through how to import that sample project.
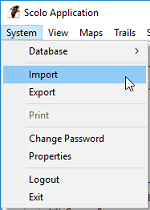
First you need run the Import command from the main menu. The Import is under System menu item.

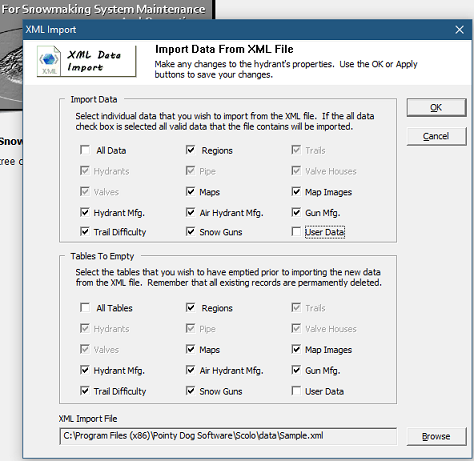
You are then presented with the following options for importing the sample project included in the XML file that was installed during the installation. Since you are starting with an empty database you can import everything except for the User Data and empty all existing tables EXCEPT for User Data. The simplest way to select every in the two lists of options is to check the All Data box in the Import Data section and then uncheck the User Data box. The same can be done with the options for Tables To Empty, select the All Tables check box and then uncheck the User Data box.

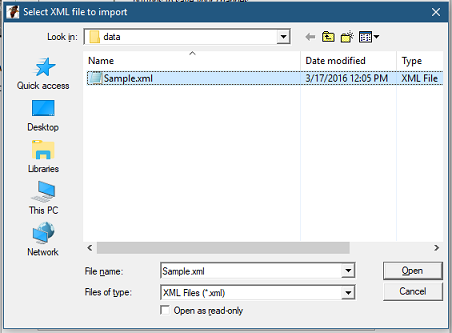
You then need to select the sample project XML file. Click the Browse button at the bottom right of this screen. You then get a browse dialog for selecting the file. The Scolo’s default directory for data should contain a file named ‘Sample.xml’. Select this file and then click the Open button to go back to the last selection screen.

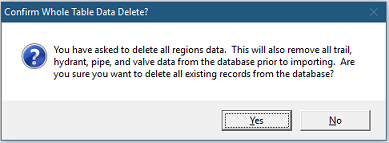
With your import options selected, click on the OK button to start the import process. You will see confirmations such as the following along with some others for emptying certain tables. Click through these to continue the import.

After the import, the sample images for maps need to be selected and saved to the database. The background images for the database are located in Scolo’s image directory. Go to this section for instructions on how to install and set the map images.